Settings -> System -> Notifications -> Google Chrome -> Off
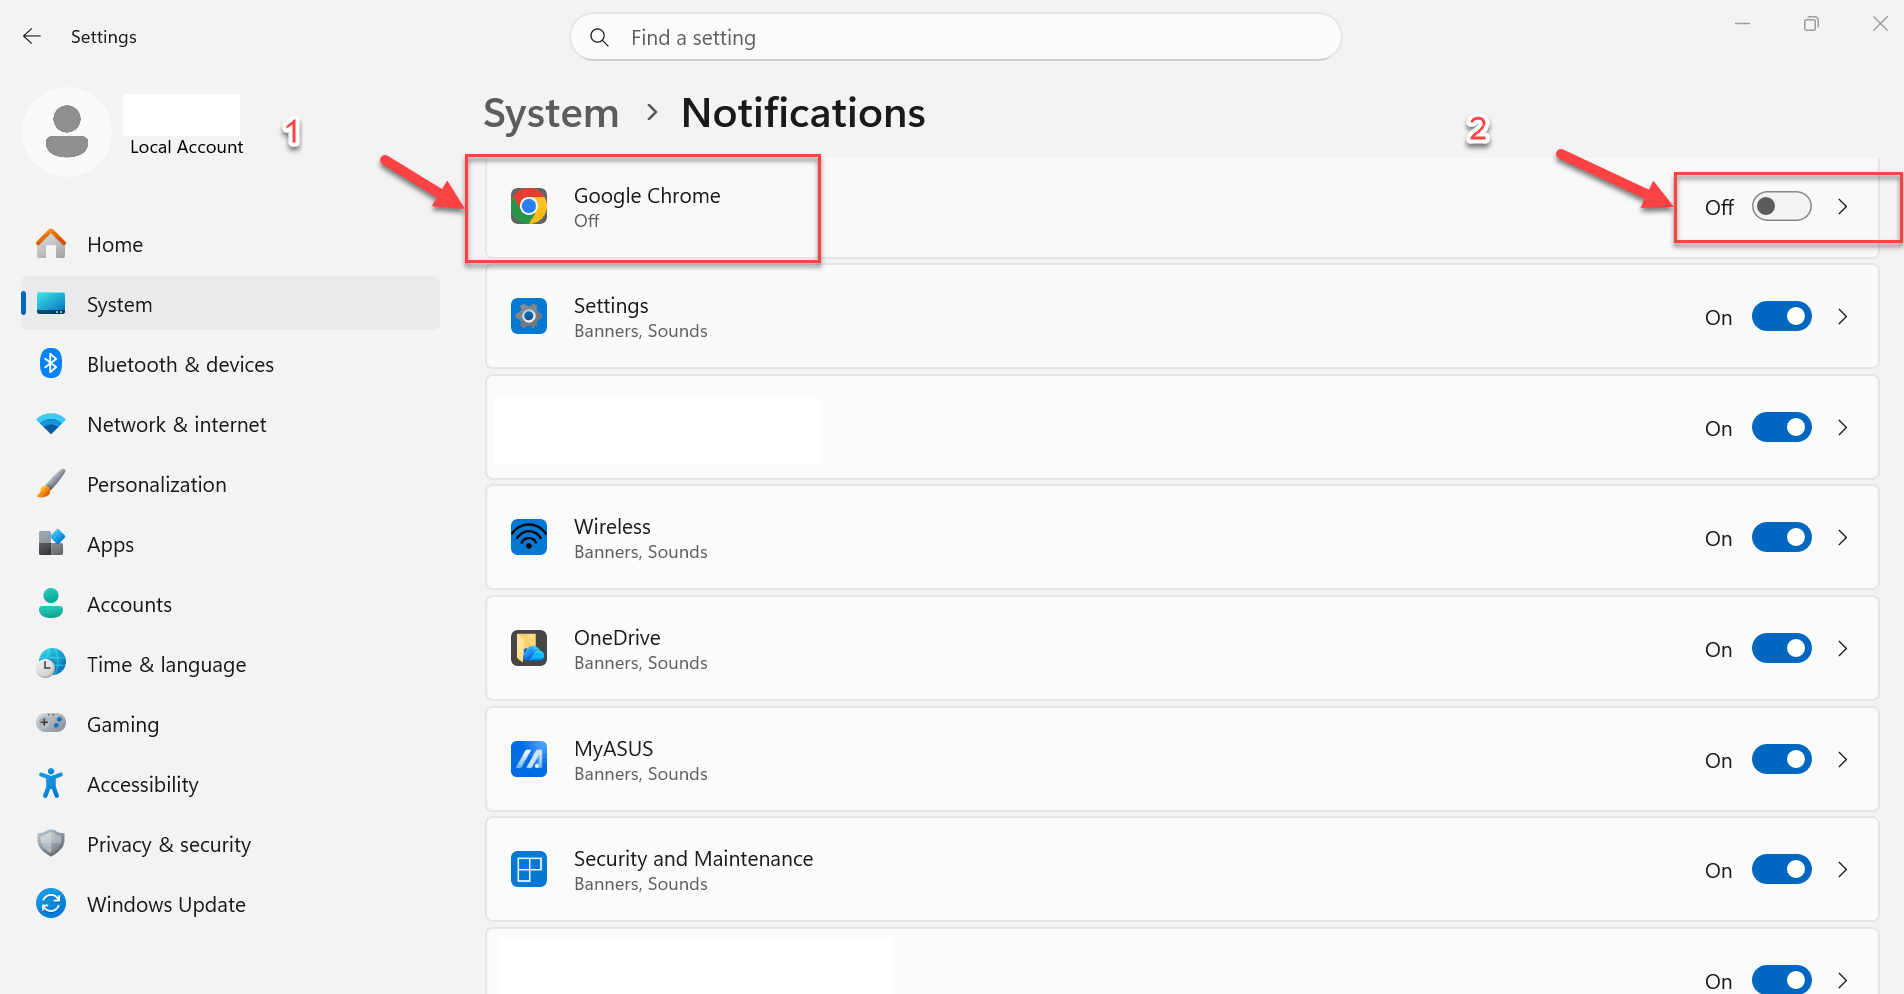
Settings -> System -> Notifications -> Google Chrome -> Off
Từ ngày 30/09/2025 Microsoft đã bắt đầu triển khai bản cập nhật Windows 11 version 25H2.
– Bản 25H2 được phát hành dưới dạng enablement package trên các máy đã chạy Windows 11 24H2 — nghĩa là các tính năng đã có trong 24H2 được kích hoạt mà không cần cài đặt lại toàn bộ hệ điều hành.
– Tập trung vào bảo mật: có “advancements in build and runtime vulnerability detection” và hỗ trợ “AI-assisted secure coding”.
– Loại bỏ các thành phần kế thừa: PowerShell 2.0 và WMIC (Windows Management Instrumentation command-line).
– Một số tính năng trước đây bị ẩn (với kiểm soát doanh nghiệp) trong 24H2 nay được bật mặc định trong 25H2, ví dụ: AI actions trong File Explorer, Click to Do (Copilot+ PC), Agent trong Settings.
– Hỗ trợ cho Wi-Fi 7 doanh nghiệp (enterprise connectivity) được đề cập.
Trong phiên bản 25H2, người dùng Enterprise/Education có thể dễ dàng loại bỏ một số ứng dụng Microsoft Store được cài sẵn thông qua chính sách (Group Policy / MDM) mà không cần script phức tạp.
Vòng đời hỗ trợ được “reset” với phiên bản mới: Home và Pro có 24 tháng hỗ trợ, Enterprise/Education có 36 tháng hỗ trợ kể từ ngày phát hành.
Các bạn có thể tìm hiểu thêm.
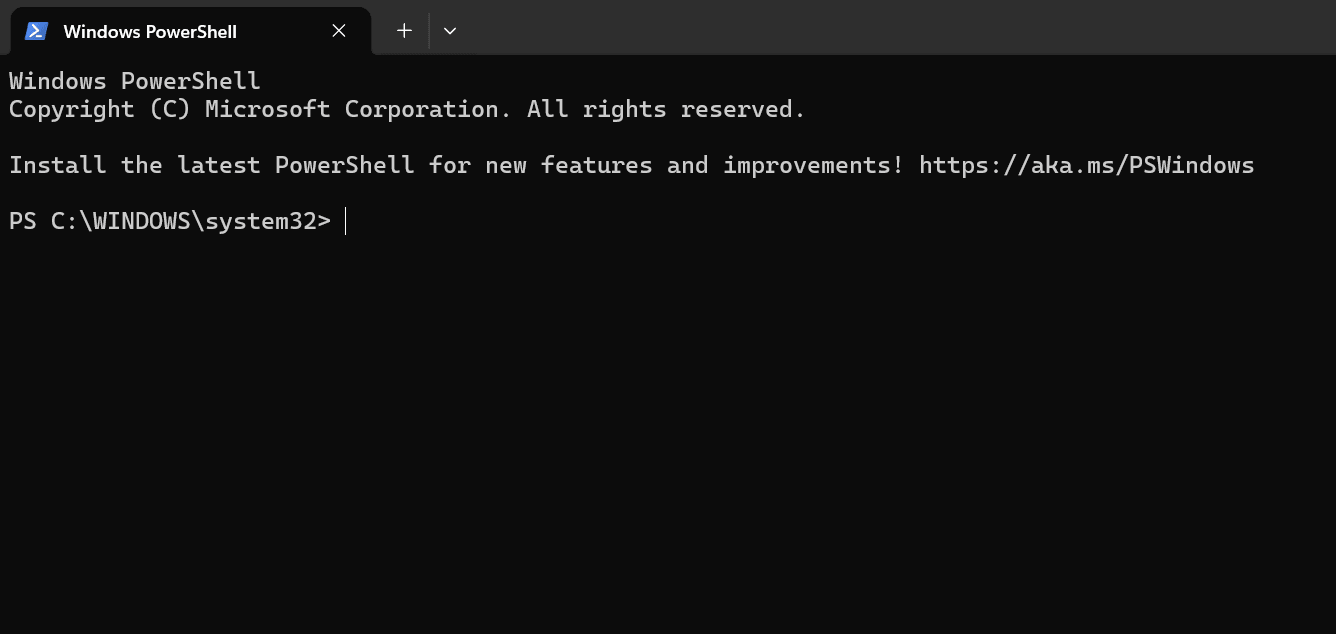
Mở PowerShell với tư cách quản trị viên hãy chạy lệnh theo nhu cầu của bạn
1. Lấy số Serialnumber
(Get-CimInstance Win32_BIOS).SerialNumber3. Lấy model
(Get-CimInstance Win32_ComputerSystem).Model2. Lấy tất cả thông tin:
Get-ComputerInfoTất cả các thông tin được xuất ra
PS C:\WINDOWS\system32> Get-ComputerInfo
WindowsBuildLabEx : 26100.1.amd64fre.ge_release.240331-1435
WindowsCurrentVersion : 6.3
WindowsEditionId : Professional
WindowsInstallationType : Client
WindowsInstallDateFromRegistry : 6/28/2025 4:03:29 PM
WindowsProductId : 00330-80000-00000-AA508
WindowsProductName : Windows 10 Pro
WindowsRegisteredOrganization :
WindowsRegisteredOwner : Admin
WindowsSystemRoot : C:\WINDOWS
WindowsVersion : 2009
OSDisplayVersion : 24H2
BiosCharacteristics : {7, 11, 12, 15...}
BiosBIOSVersion : {_ASUS_ - 1072009, X513UA.319, American Megatrends - 50013}
BiosBuildNumber :
BiosCaption : X
BiosCodeSet :
BiosCurrentLanguage : en|US|iso8859-1
BiosDescription : X.319
BiosEmbeddedControllerMajorVersion : 255
BiosEmbeddedControllerMinorVersion : 255
BiosFirmwareType : Uefi
BiosIdentificationCode :
BiosInstallableLanguages : 1
BiosInstallDate :
BiosLanguageEdition :
BiosListOfLanguages : {en|US|iso8859-1}
BiosManufacturer : American Megatrends International, LLC.
BiosName : X5.319
BiosOtherTargetOS :
BiosPrimaryBIOS : True
BiosReleaseDate : 5/9/2023 7:00:00 AM
BiosSeralNumber : XADFSDSDSD
BiosSMBIOSBIOSVersion : X513UA.319
BiosSMBIOSMajorVersion : 3
BiosSMBIOSMinorVersion : 3
BiosSMBIOSPresent : True
BiosSoftwareElementState : Running
BiosStatus : OK
BiosSystemBiosMajorVersion : 5
BiosSystemBiosMinorVersion : 19
BiosTargetOperatingSystem : 0
BiosVersion : _ASUS_ - 1072009
CsAdminPasswordStatus : Unknown
CsAutomaticManagedPagefile : True
CsAutomaticResetBootOption : True
CsAutomaticResetCapability : True
CsBootOptionOnLimit :
CsBootOptionOnWatchDog :
CsBootROMSupported : True
CsBootStatus : {0, 0, 0, 44...}
CsBootupState : Normal boot
CsCaption : LAP-001
CsChassisBootupState : Safe
CsChassisSKUNumber : NA
CsCurrentTimeZone : 420
CsDaylightInEffect :
CsDescription : AT/AT COMPATIBLE
CsDNSHostName : LAP-001
CsDomain : WORKGROUP
CsDomainRole : StandaloneWorkstation
CsEnableDaylightSavingsTime : True
CsFrontPanelResetStatus : Unknown
CsHypervisorPresent : False
CsInfraredSupported : False
CsInitialLoadInfo :
CsInstallDate :
CsKeyboardPasswordStatus : Unknown
CsLastLoadInfo :
CsManufacturer : ASUS
CsModel : VA
CsName : ADMIN-LAP-001
CsNetworkAdapters : {Wi-Fi, Bluetooth Network Connection, Ethernet, Ethernet
2...}
CsNetworkServerModeEnabled : True
CsNumberOfLogicalProcessors : 16
CsNumberOfProcessors : 1
CsProcessors : {AMD Ryzen 7 5700U with Radeon Graphics }
CsOEMStringArray : {kPJ-+7X7+EfTa, jTyRUBSNi7Ydf, fCrOzJ6x1i-eh, ...}
CsPartOfDomain : False
CsPauseAfterReset : -1
CsPCSystemType : Mobile
CsPCSystemTypeEx : Mobile
CsPowerManagementCapabilities :
CsPowerManagementSupported :
CsPowerOnPasswordStatus : Unknown
CsPowerState : Unknown
CsPowerSupplyState : Safe
CsPrimaryOwnerContact :
CsPrimaryOwnerName : Admin
CsResetCapability : Other
CsResetCount : -1
CsResetLimit : -1
CsRoles : {LM_Workstation, LM_Server, NT}
CsStatus : OK
CsSupportContactDescription :
CsSystemFamily : VivoBook
CsSystemSKUNumber :
CsSystemType : x64-based PC
CsThermalState : Safe
CsTotalPhysicalMemory : 16518
CsPhyicallyInstalledMemory : 16776
CsUserName : LAP-001\Admin
CsWakeUpType : PowerSwitch
CsWorkgroup : WORKGROUP
OsName : Microsoft Windows 11 Pro
OsType : WINNT
OsOperatingSystemSKU : 48
OsVersion : 10.0.26100
OsCSDVersion :
OsBuildNumber : 26100
OsHotFixes : {KB5064401, KB5065426, KB5064531}
OsBootDevice : \Device\HarddiskVolume1
OsSystemDevice : \Device\HarddiskVolume3
OsSystemDirectory : C:\WINDOWS\system32
OsSystemDrive : C:
OsWindowsDirectory : C:\WINDOWS
OsCountryCode : 1
OsCurrentTimeZone : 420
OsLocaleID : 0409
OsLocale : en-US
OsLocalDateTime : 9/17/2025 10:40:31 AM
OsLastBootUpTime : 9/15/2025 9:22:51 AM
OsUptime : 2.01:17:40.4680144
OsBuildType : Multiprocessor Free
OsCodeSet : 1252
OsDataExecutionPreventionAvailable : True
OsDataExecutionPrevention32BitApplications : True
OsDataExecutionPreventionDrivers : True
OsDataExecutionPreventionSupportPolicy : OptIn
OsDebug : False
OsDistributed : False
OsEncryptionLevel : 256
OsForegroundApplicationBoost : Maximum
OsTotalVisibleMemorySize : 16131292
OsFreePhysicalMemory : 2145432
OsTotalVirtualMemorySize : 28200904
OsFreeVirtualMemory : 3169176
OsInUseVirtualMemory : 25031728
OsTotalSwapSpaceSize :
OsSizeStoredInPagingFiles : 12069612
OsFreeSpaceInPagingFiles : 10705336
OsPagingFiles : {C:\pagefile.sys}
OsHardwareAbstractionLayer : 10.0.26100.1
OsInstallDate : 6/28/2025 11:03:29 PM
OsManufacturer : Microsoft Corporation
OsMaxNumberOfProcesses : 4294967295
OsMaxProcessMemorySize : 137438953344
OsMuiLanguages : {en-US, vi-VN}
OsNumberOfLicensedUsers : 0
OsNumberOfProcesses : 377
OsNumberOfUsers : 2
OsOrganization :
OsArchitecture : 64-bit
OsLanguage : en-US
OsProductSuites : {TerminalServicesSingleSession}
OsOtherTypeDescription :
OsPAEEnabled :
OsPortableOperatingSystem : False
OsPrimary : True
OsProductType : WorkStation
OsRegisteredUser : Admin
OsSerialNumber : 00330-80000-00000-AA508
OsServicePackMajorVersion : 0
OsServicePackMinorVersion : 0
OsStatus : OK
OsSuites : {TerminalServices, TerminalServicesSingleSession}
OsServerLevel :
KeyboardLayout : en-US
TimeZone : (UTC+07:00) Jakarta
LogonServer : \\LAP-001
PowerPlatformRole : Mobile
HyperVisorPresent : False
HyperVRequirementDataExecutionPreventionAvailable : True
HyperVRequirementSecondLevelAddressTranslation : True
HyperVRequirementVirtualizationFirmwareEnabled : True
HyperVRequirementVMMonitorModeExtensions : True
DeviceGuardSmartStatus : Off
DeviceGuardRequiredSecurityProperties :
DeviceGuardAvailableSecurityProperties :
DeviceGuardSecurityServicesConfigured :
DeviceGuardSecurityServicesRunning :
DeviceGuardCodeIntegrityPolicyEnforcementStatus : EnforcementMode
DeviceGuardUserModeCodeIntegrityPolicyEnforcementStatus : Off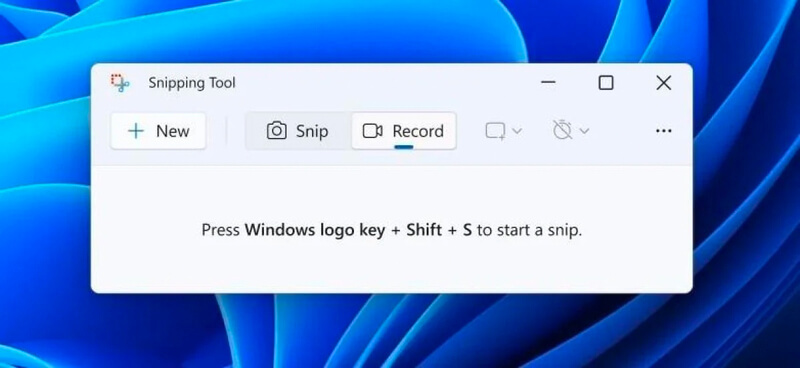
Bạn có thể quay màn hình bằng phím tắt “Nhấn Win + Shift + R” và chọn vùng quay thủ công.
Microsoft cũng đang thử nghiệm tính năng cho phép chọn trực tiếp một cửa sổ ứng dụng để quay video, thay vì phải kéo vùng thủ công.
Có một cách khác để quay màn hình là dùng phím tắt “Windows + G”.
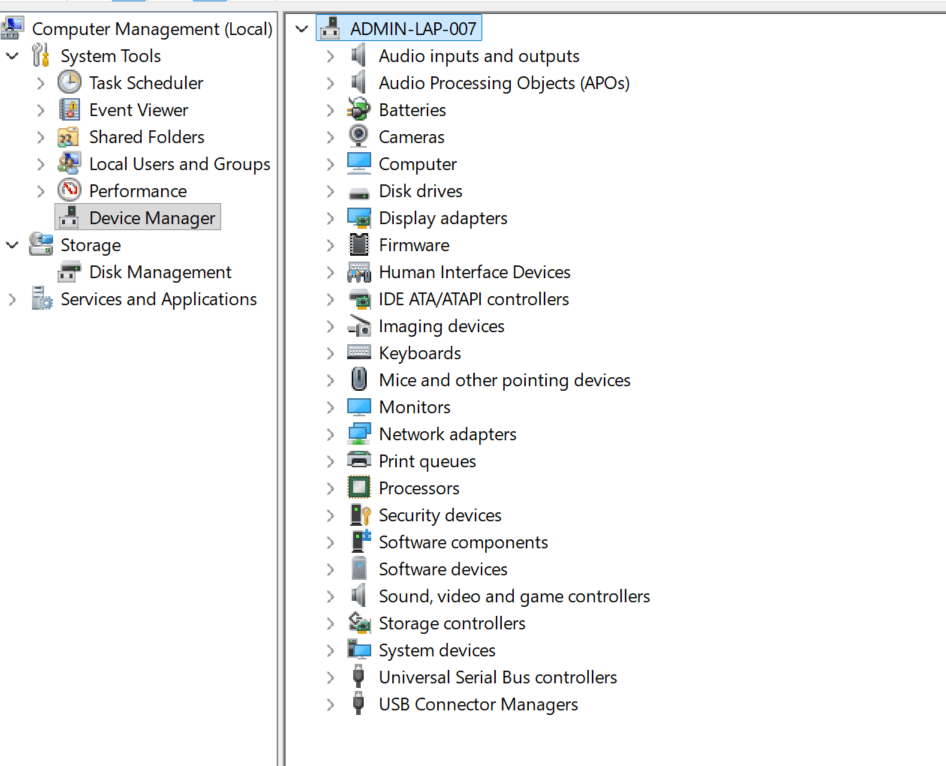
Mình được người dùng thông tin: Laptop của họ là Asus Vivobook (CPU AMD) chạy Windows 11 bỗng dưng cắm màn hình rời không nhận.
Sau khi kiểm tra máy, lỗi không kết nối được với màn hình rời do phần Card “AMD Radeon Graphic” báo lỗi. Các bạn có thể vào phần Device Manager để kiểm tra nhé.
Cách xử lý nhanh nhất là vào trang chủ của ASUS, điền thông tin Serial number hoặc tìm đúng dòng máy và hệ điều hành đang cài, sau đó tải driver Card màn hình và cài là xong.
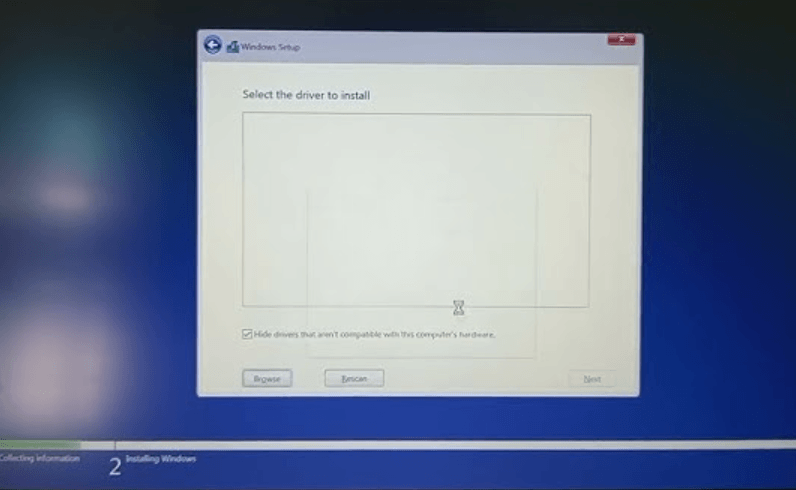
Khi muốn cài đặt lại Windows Laptop nhưng không nhận ổ cứng đối với dòng Lenovo ThinkBook 14 G2 ITL bạn cần thêm 1 driver có tên: Intel Rapid Storage Technology (IRST) Driver.
Link tải driver: Tại đây
Bước 1: Tải Driver “Intel Rapid Storage Technology (IRST) Driver” theo đường dẫn trên về và giải nén ra.
Mặc định sẽ giải nén ra ở thư mục:
C:\driverBước 2: Copy hoặc move file “Intel Rapid Storage Technology” đã giải nén đến Usb cài windows -> Scan Driver để thấy phân vùng ổ cứng.
Scan và đã thấy Driver, chọn mục đầu tiên “Intel RST VMD Controller 9A0B,..“-> Next
Đã thấy phân vùng ổ cứng
Bước 3: Tiến hành chia lại phân vùng và cài đăt Windows theo ý của bạn
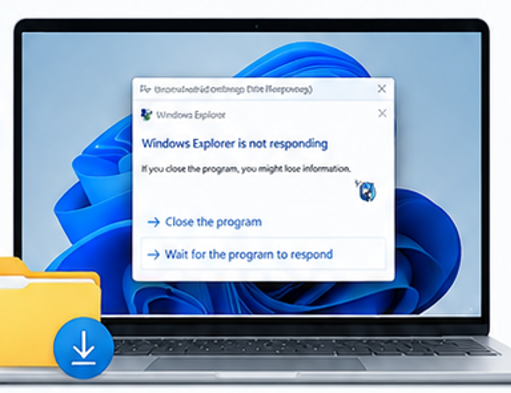
Please right-click on the Downloads folder and click Properties.
Select the Customize tab.
In the “Optimize the folder for:” dropdown, select “Documents”.
Click “Apply”.
Now, select “General Items” in the dropdown.
Click OK.
If that doesn’t fix the issue, one of the recently downloaded files in that folder may be causing the issue.
Moving the files to a subfolder should help. To do so, open Command Prompt and run these commands:
md "%userprofile%\downloads\Temp"

move "%userprofile%\downloads\*.*"  "%userprofile%\downloads\temp\"
Check to see if the Downloads folder opens correctly. If so, the next step is to determine the offending file (which is now located in the Downloads\Temp folder.)
1. Kiểm tra chuẩn boot máy tính
2. Kiểm tra có bật bitlocker trên ổ cứng (Trước khi cài lại Windows)
Nếu có thì có thể tắt bitlocker hoặc sao lưu key để khôi phục
3. Sao lưu dữ liệu trước khi cài đặt
4. Kiểm tra số lượng ổ đĩa, dung lượng sử dụng, dung lượng trống để cài cho đúng (Định dạng đĩa là Dynamic hay gì khác)
5. Xác định phân vùng cần tạo và cài
6. Xác định loại User cần tạo và tên user cần tạo
7. Đặt lại tên máy
8. Join miền đối với tổ chức, cá nhân thì sử dụng local account hoặc tài khoản Microsoft cá nhân
9. Cài đặt phần mềm theo nhu cầu